What is an effective PowerPoint presentation?

This is the second of three chapters about Using Visual Aids. To complete this reader, read each chapter carefully and then unlock and complete our materials to check your understanding.   

– Provide seven rules for creating effective PowerPoint presentations

–  Use examples and slides to clarify these rules for the reader

– Introduce the concept of body language, delivery strategies and presentation language

Before you begin reading...

This topic now has an interactive course: Designing Effective PPTs
  • video and audio texts
  • knowledge checks and quizzes
  • skills practices, tasks and assignments
E-learning

Chapter 2

In Chapter 1 of this short reader on using visual aids and improving presentation skills, we discussed what a visual aid is and how such aids can be used most effectively when conducting academic presentations. Focusing specifically now on when using PowerPoint (PPT) as the primary visual aid, this second reader on the subject next explores the seven most important rules for creating a successful formal presentation. Follow these rules carefully and apply them to your own PPT and you should see a significant increase in both your grades (if submitting work) and in the general engagement of your audience, particularly if you also elect to take our short courses on body language and delivery strategies.


Rule 1: Have a Clear Structure

The first rule when creating a successful academic PowerPoint presentation is to make sure that that presentation provides the audience with a clear structure of its contents. To do this, the presenter may wish to include key slides within their presentation that work as structural markers, including also any relevant headings, subheadings and separated sections that may help to guide the audience. We’ve outlined five such slides below, but students may also wish to dedicate slides to the introduction, the research question, the background information, the methodology, the data analysis and the conclusion depending on their presentation type:


i) First Slide = name of presenter, title of presentation, date, student number, etc.

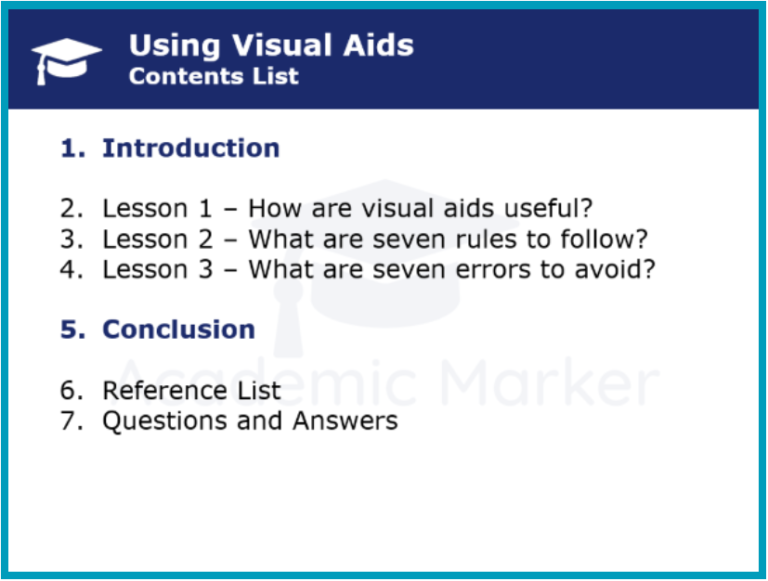
ii) Second Slide = an outline of the presentation or a bullet-pointed contents list

iii) Divider Slides = slides that inform the reader of a change of topic or important transition

iv) Penultimate Slide = a reminder of the most important content in the presentation

v) Final Slide = references, questions and answers, special thanks, etc.


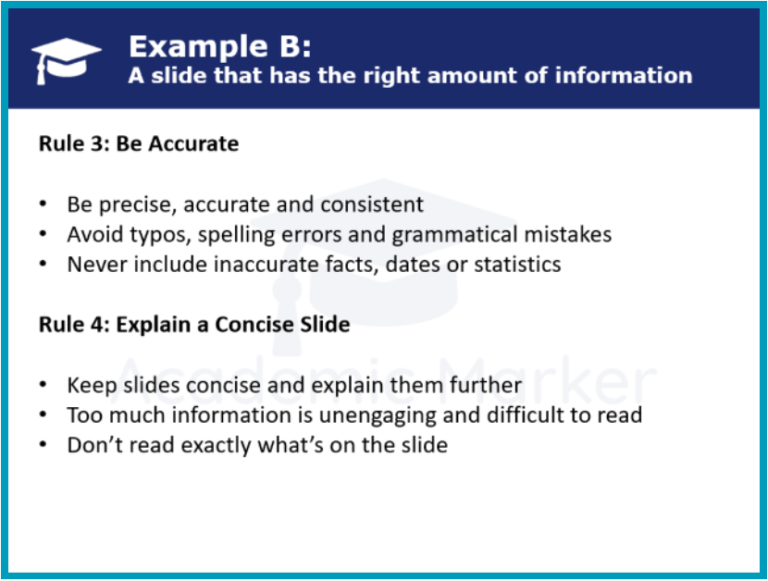
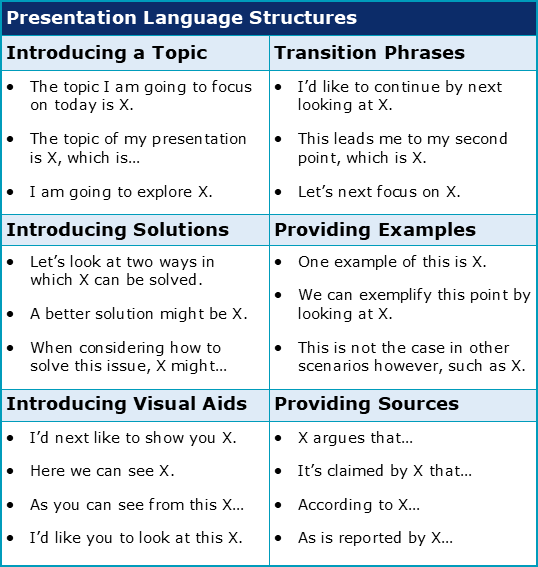
The two diagrams below are examples of potential introductory slides:

Rule 2: Use Appropriate Language

The second most important rule when creating a presentation is to use appropriate language – which of course means that you must be able to predict your audience. If you’re presenting to non-native speakers of English, for example, you may wish to grade your language so that it’s easier to understand, and if you’re presenting to seasoned academics then don’t forget to include sufficient subject-specific vocabulary to challenge their knowledge. Ultimately, when focusing on academic contexts more specifically, our short course on academic language may be able to help you better understand the points we’ve summarised below:

Rule 3: Be Accurate

Precision, accuracy, consistency – these are all important academic skills, particularly when creating and delivering assessed presentations. If your PowerPoint slides are not only free of typos, spelling errors and grammatical mistakes but are also free of any inconsistencies within your argumentation, then your audience will likely be better persuaded by, and engaged with, your ideas. An academic presentation that includes inaccurate facts, dates or statistics, or that has clearly misinterpreted a theory or subject-specific term is unlikely to be well received.


Rule 4: Explain a Concise Slide

Another key rule is that PowerPoint slides should generally be concise in nature and explained further by the presenter. A slide that’s packed with information, whether across numerous bullet points or within full paragraphs, and that’s identical to the presenter’s speech, is probably unengaging and difficult to read. As can be seen from the examples below, slides that instead contain brief information that the presenter expands upon verbally are much more likely to be successfully received:

Rule 5: Use Evidence and Referencing

Particularly important in academic contexts is that students include evidence and accurate referencing practices within their presentation. Students should use sources such as books, web pages or journal articles to provide supporting evidence for their claims and ideas and then make sure that they accurately cite this information on each relevant slide, including a reference list on one of their final slides also. By forgetting to include citations such as ‘Smith (2019)’, students could be accused of academic misconduct via plagiarism – which could have serious consequences for their grades and future at the university. 


Rule 6: Display Data Visually

One of the most significant benefits of using a piece of software to create your presentation (such as PowerPoint or Prezi) is that other types of visual aid can also be easily displayed. A good presenter should in fact do their best to include a variety of visual aids within a presentation to best engage their audience. Whether it’s a graph, a table, a short video or an audio snippet, any information that can be converted from plain text into a more exciting visual format is generally more interactive and thought provoking. Just remember to make sure, of course, that such visual aids are of high quality, are used thoughtfully, consistently and sparingly, and are sufficiently introduced and explained. 


Rule 7: Use Language Structures

Finally, a successful presenter should never forget to include the specific language structures that work to signpost a presentation and signal any transitions and new sections. This may come in the form of presentation language or listening and lecture cues. While you may wish to take our short courses to learn more about this subject, we’ve nevertheless provided some examples for your reference below:

Now that we’ve discussed the seven rules of creating effective academic PowerPoint presentations, our final class on this topic is about avoiding the seven most common errors that students have a tendency of making.

2 of 3 Chapters Completed

Downloadables

Once you’ve completed all three chapters about using visual aids, you might also wish to download our beginner, intermediate and advanced worksheets to test your progress or print for your students. These professional PDF worksheets can be easily accessed for only a few Academic Marks.

Our using visual aids academic reader (including all three chapters about this topic) can be accessed here at the click of a button.

Gain unlimited access to our using visual aids beginner worksheet, with activities and answer keys designed to check a basic understanding of this topic’s chapters.

To check a confident understanding of this reader’s chapters, click on the button below to download our using visual aids intermediate worksheet with activities and answer keys.

Our using visual aids advanced worksheet with activities and answer keys has been created to check a sophisticated understanding of this reader’s chapters. 

To save yourself 3 Marks, click on the button below to gain unlimited access to all of our using visual aids chapters and worksheets. The All-in-1 Pack includes every chapter on this topic, as well as our beginner, intermediate and advanced worksheets in one handy PDF.

Collect Academic Marks

🎁 Free to join the community
  • 100 Marks for joining
  • 25 Marks for daily e-learning
  • 100-200 for feedback/testimonials
  • 100-500 for referring your colleages/friends
AY 24-25